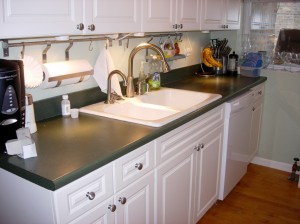
 Since we weren’t ready to re-do the entire kitchen, but needed to get a new dishwasher, we went ahead and got a white dishwasher that would blend in to our current kitchen. We will want stainless appliances when we revamp the space, but since you typically want stainless appliances to match, it’s better to buy them all at once to ensure the brush patterns, handles, etc. all go together.
So once the dishwasher arrived, I was eager to get it installed. So eager, in fact, that despite not feeling well, I decided to take advantage of a Saturday afternoon alone to install it myself.
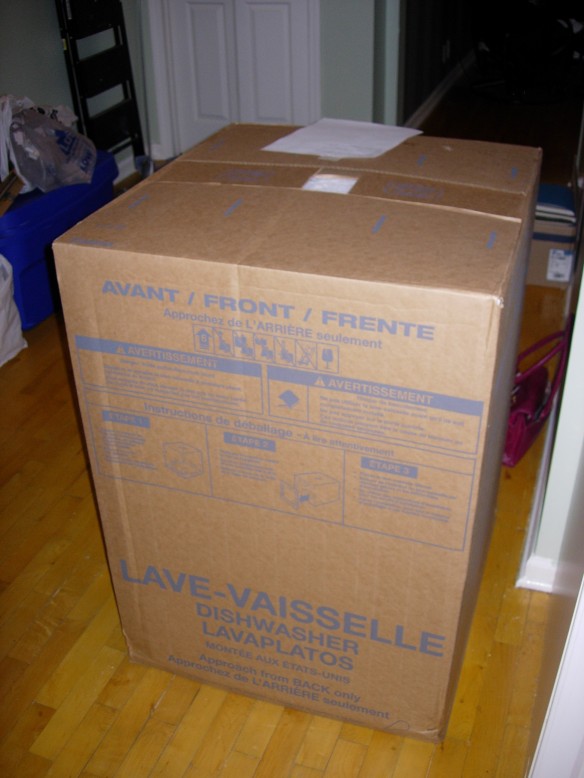
 Step 1: First, for safety, I turned off the electricity and the water to the dishwasher. I noticed later that there was also a light switch installed under the cabinets that would likely have been the power for the dishwasher, but just to be safe, it was probably best to turn the circuit off completely anyway.
Step 2: I grabbed my trusty tool kit to make sure I had everything handy and accessible to remove and install the dishwasher.

Step 3: Next, I unscrewed the screws that held the dishwasher to the bottom of the counter and ensure it doesn’t move around when you open the door of the dishwasher.
 Step 4: Then I moved the dishwasher out as far as it could go. With my dishwasher I wasn’t able to get it all the way out without disconnecting the water and electrical from the bottom, first.
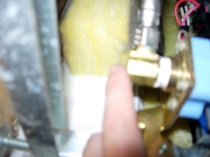 Step 5: Here is where it got more complicated. Trying to disconnect the wire from the dishwasher took some finagling with the wrench since it’s an awkward angle and I didn’t have much room between the bolt and the edge of the cabinets. Looking back, I probably should have disconnected the other end of the water tubing from the water spout in the cabinet, therefore eliminating the need to disconnect it from the current dishwasher, since I had a new tube for the new dishwasher.
Step 6: But hindsight is 20×20, and I kept working on disconnecting the tube from the old dishwasher, eventually getting enough torque on the wrench to get the tube disconnected.
 Step 6.5: I had plenty of towels on hand to sop up the draining water from the tube, as well as to help clean up the mess uncovered by removing the dishwasher from its home.
 Step 7: Now I was halfway done disconnecting the dishwasher and just needed to disconnect the electricity before I was free of the old inefficient dishwasher forever! Now, I managed to break the electric box off of the old dishwasher, but you should definitely check and remove the cover before trying to pull any of the wires out of the box.
 Step 8: Once I disconnected the wires, I made sure to cap them while they were on the floor since the space was quite damp from the draining water. I pulled the old dishwasher the rest of the way out from the cabinet and out onto our deck for my husband to dispose of later.
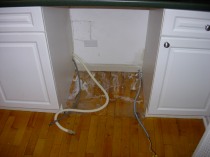 Step 9: Now for some cleaning before getting ready to install the new dishwasher. As you can see, it definitely needed some TLC!
 Step 10: Finally cleaned and ready for installation.
Step 11: After removing the cardboard from the dishwasher, I removed the drainage tube and the directions, free rinse aid, etc. from the inside of the tub.
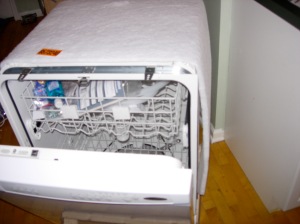 Step 12: Following the instructions, I next laid the dishwasher on its back near the opening so that I could connect the tubes and electric.
My picture taking slowed down at this stage to… none. So I will just walk through the installation in case you need any insights beyond the directions that come with your dishwasher.
Step 13: Using the installation kit, connect the new water tube and drainage tubes to the appropriate places inside the cabinet and thread them through to the front of the floor. My instructions suggested taping them before sliding the dishwasher, but I was able to get the dishwasher close enough to the opening to connect everything before sliding it in under the cabinet.
Step 14: I connected the copper elbow, properly wrapped with teflon tape to ensure it wouldn’t leak, to the appropriate location at the front of the dishwasher, making sure it faced toward the back to make it easier to connect to the water tube. I then used the wrench to make sure it was as tight as possible. Connecting the drainage tube was simple, just slid the rubber pieces over the appropriate plastic tubing. Then I connected the wires directly, black to black and white to white, using the caps to ensure the connections stay tight and safe.
Step 15: My unit fit perfectly under my cabinet so I didn’t need to adjust the height of my tub. Once everything was connected carefully and tightly, I simply slid it under the cabinet, screwed the attachments into the bottom of the cabinet and loaded it up! Oh! And don’t forget to turn the power and the water all the way back on!
 Step 16: Sit back and relax while your new dishwasher does all the work of cleaning the dishes!


